Install & first run
First boot and setup
The VM is created and powered on. This page covers what the first boot does, where the address and the administration password come from, the seven-step checklist that configures the install, and how to create the first person who can sign in.
First boot — what you should see
A healthy first boot spends most of its time looking like nothing is happening. Here is exactly what happens, in what order, and what each stage looks like from the outside.
Stage 0 — power on: firmware, then kernel messages
The appliance boots straight through its firmware into the kernel. There is no boot menu to choose from and nothing to press — if you are waiting for one, you are waiting for something that never appears. The first thing on the screen is the UEFI firmware handing over:
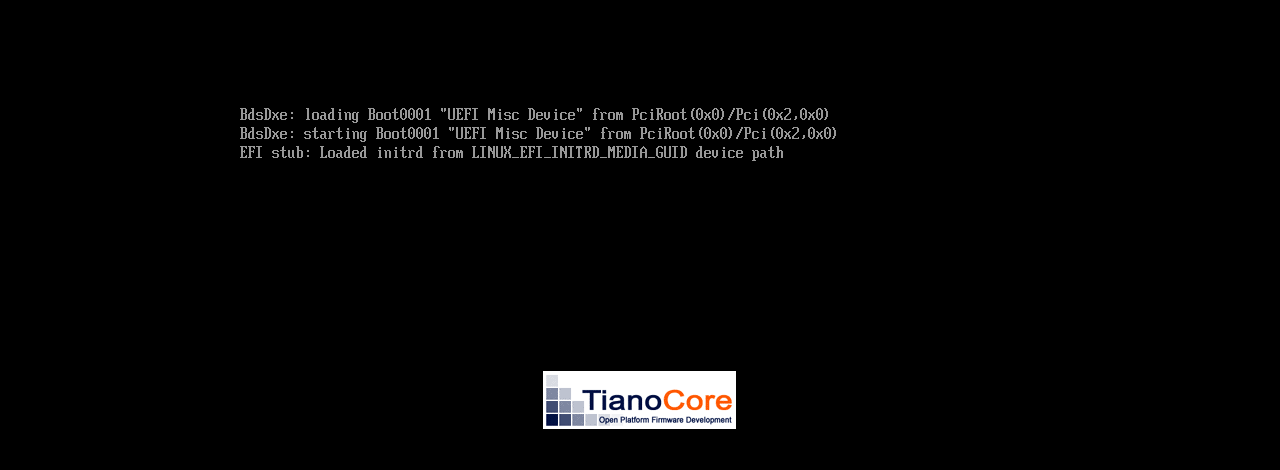
Then kernel and systemd messages scroll past for a few seconds. Nothing here needs your attention; it is a stock Ubuntu 24.04 LTS boot.
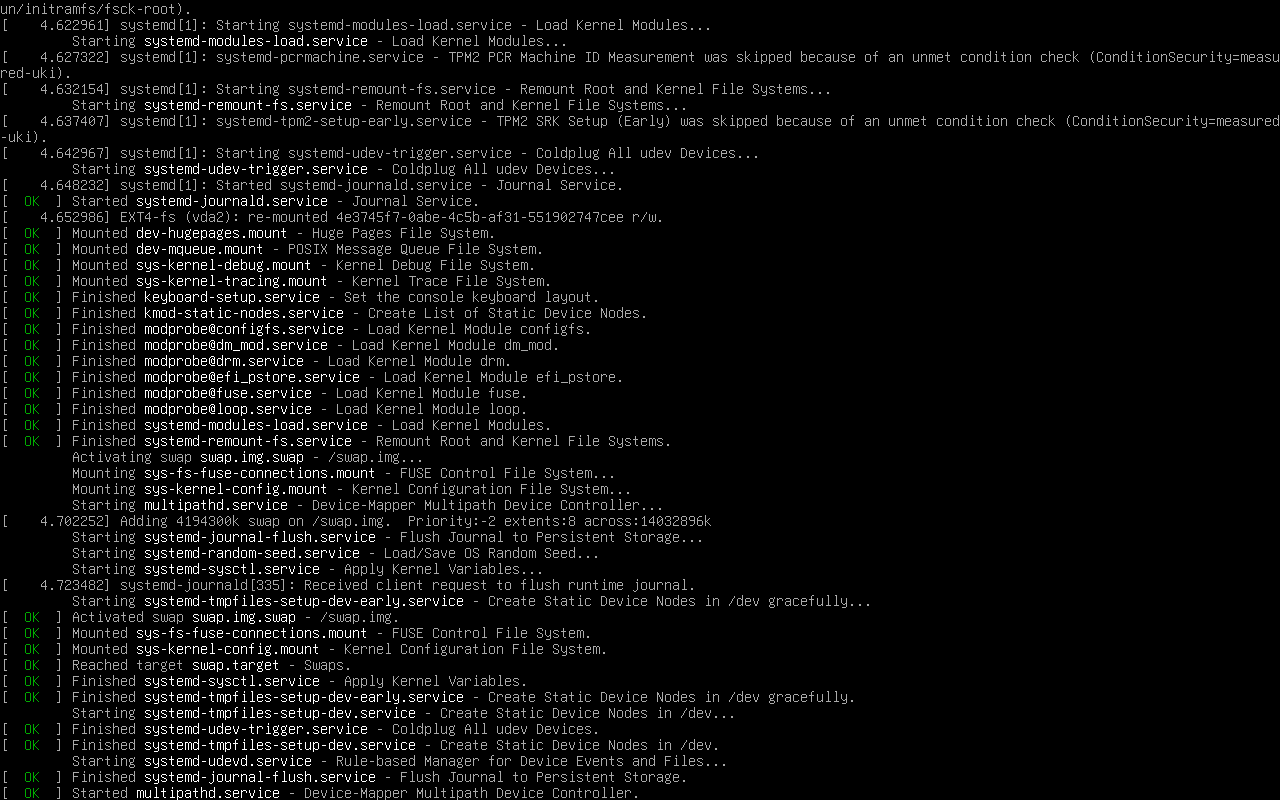
Screenshots on this page are captured from a real boot of the published 0.4.3 image under KVM, with both disks attached and UEFI firmware — the same way a hypervisor starts it.
Stage 1 — the console before the seal finishes
Within about half a minute the console shows a login prompt. Until the appliance has finished its first boot, this notice sits above it. This is the exact text the image ships:
  ============================================================
   TestVibe appliance
  ============================================================

   This appliance has NOT finished its first boot.

   The usual cause is that only ONE of its two virtual disks
   is attached. The second disk holds the database and this
   appliance's own generated secrets, and nothing starts
   without it. Shut down, attach it, and power on again.

   This appliance has no operating-system login, and you do
   not need one. Once it has finished starting, this message
   is replaced by the address to open and a generated admin
   password.

   Open http://<this appliance's IP>/ in a browser — it will
   also tell you whether it is starting or stuck.

  ============================================================

testvibe login:
Reproduced from the image's /etc/issue. Seeing this for more than a
couple of minutes means the first boot did not complete — the most likely reason is
named in the message itself.
Troubleshooting has a photograph of this notice on a real screen, produced deliberately by booting the image with only one disk attached, and what to do about it.
Stage 2 — the banner, which is where your password comes from
When the first-boot seal completes it replaces that notice with this banner. It carries the address to open and the only copy of the generated administration password. It is re-drawn above the login prompt on every boot, so a missed screenshot is not a lost appliance — press Enter at the console to redraw it.
This is what it actually looks like, photographed from a real first boot of the published 0.4.3 image:
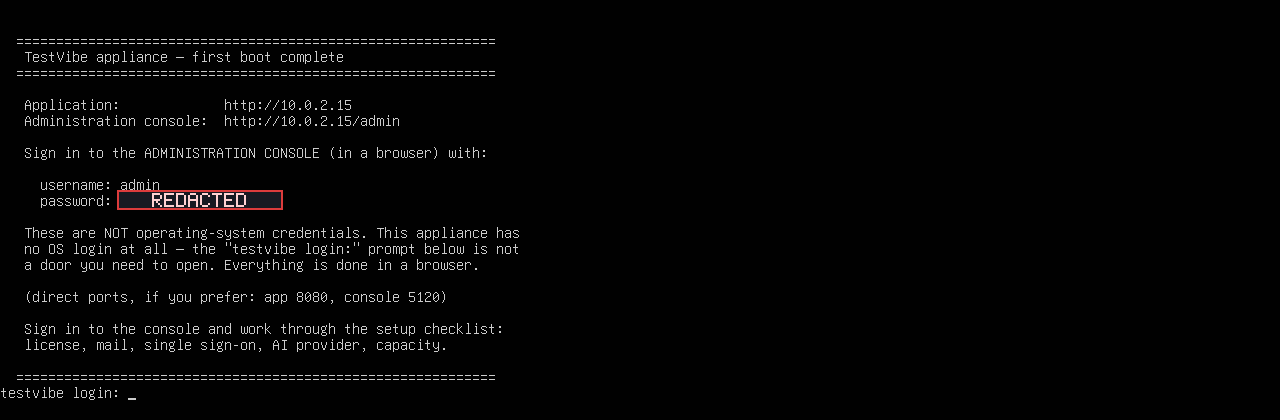
A genuine capture, with one change: the password is blocked out. The
appliance in the screenshot really did print a twenty-character password there. It was
generated on that appliance, on that boot, and yours will be different — a password
published here would be worth nothing to you and would teach the wrong lesson about
what this line is. Everything else is untouched, including the address
(10.0.2.15 is the IP that test VM was given; yours will be an address on
your network).
The same banner as text, so you know exactly which line is which:
  ============================================================
   TestVibe appliance — first boot complete
  ============================================================

   Application:             http://192.0.2.34
   Administration console:  http://192.0.2.34/admin

   Sign in to the ADMINISTRATION CONSOLE (in a browser) with:

     username: admin
     password: Kq7mXrb4TnZa2vHcPd9F

   These are NOT operating-system credentials. This appliance has
   no OS login at all — the "testvibe login:" prompt below is not
   a door you need to open. Everything is done in a browser.

   (direct ports, if you prefer: app 8080, console 5120)

   Sign in to the console and work through the setup checklist:
   license, mail, single sign-on, AI provider, capacity.

  ============================================================

testvibe login:
Illustrative: the layout and wording are exactly what the appliance prints; the IP address and password shown are made up. Yours are generated for your appliance alone — we cannot look them up for you.
Stage 3 — the browser, from about thirty seconds in
Open http://<the appliance's IP>/ as soon as you have an address.
Port 80 answers long before the application does, and says which of the two states
you are in: a page headed "TestVibe is starting" that refreshes
itself every 10 seconds, or the application. It also repeats the console and
application ports, and the "still here after 20 minutes?" hint about the second disk.
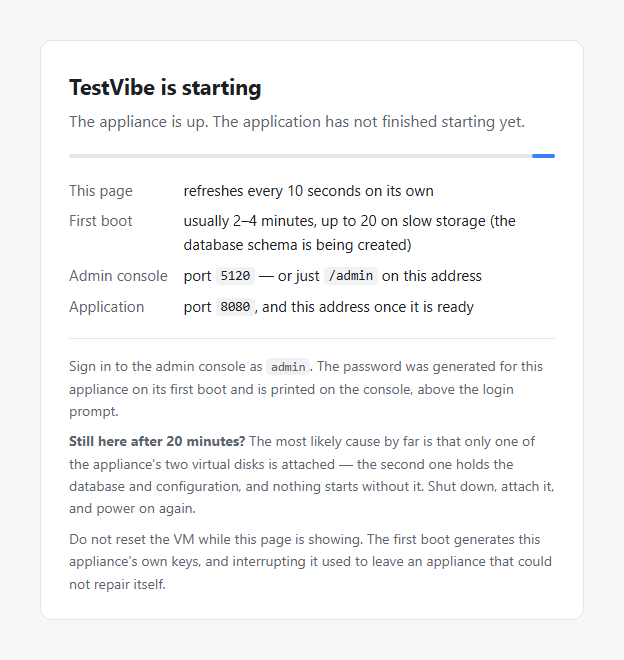
The real page, served by the appliance on port 80 during its own boot. This is the answer to "is it broken or is it working?" — if you can see this, it is working. Note it repeats where the admin password comes from, and the second-disk hint.
When the application has finished starting, the same address serves the sign-in page instead. Nothing needs to be restarted or refreshed by hand; the starting page refreshes into it.
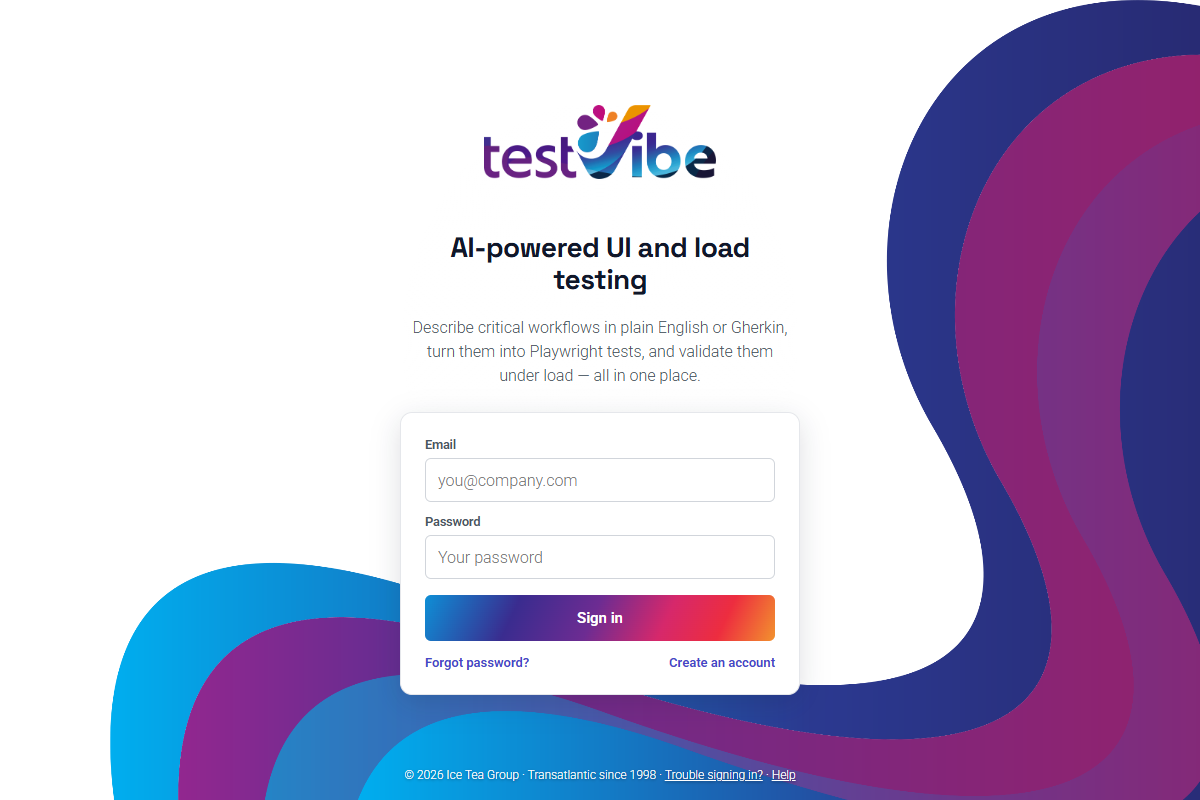
The application, running entirely on the appliance. The administration password from the console banner does not work here. This sign-in wants an application account, and none exists yet. You make the first one in the administration console — see section 04.
Finding the IP address and the admin password
Both are on the console banner. If you cannot see the console, or the banner never appeared, work down this list.
The IP address
- The VM console banner — the "Application:" line. This is the address the appliance detected and kept.
- Your hypervisor. Hyper-V Manager shows it on the VM's Networking tab; VMware shows it on the VM summary. A blank there means "unknown", not "no address".
- Your DHCP server's lease table. Look for the hostname
testvibe, or the VM's MAC address. This is the most reliable route, and it is where you should add a reservation so the address never moves. - Scan for it. From a machine on the same subnet:
Then open each hit in a browser — the appliance identifies itself immediately.PowerShell
1..254 | ForEach-Object {
  $ip = "192.168.1.$_"
  if (Test-NetConnection -ComputerName $ip -Port 80 -InformationLevel Quiet -WarningAction SilentlyContinue) {
    "$ip answers on port 80"
  }
}
http://127.0.0.1, the appliance
got no address in the first minute of its first boot and fell back to loopback.
Detection runs once and is not repeated. Fix the network, then type the right
address into the console yourself: Console → Addresses. Both
fields are editable there. See
Troubleshooting → "It has no IP address".
The administration password
- Press Enter at the VM console. The banner is drawn again above every login prompt. It survives reboots and scrollback.
- Reboot the VM if the console is showing something else.
- Last resort — read it off the data disk. Shut the VM down,
attach a copy of the data disk to any Linux VM or live CD, and read one
file:
One file, two paths. On the running appliance this same file ison a Linux rescue system
# Identify the data disk partition (label: testvibe-data)
lsblk -o NAME,SIZE,LABEL

sudo mkdir -p /mnt/tv
sudo mount /dev/sdb1 /mnt/tv          # substitute your device
sudo cat /mnt/tv/etc/admin-password
/etc/testvibe/admin-password, because/etc/testvibeis a bind mount of theetcfolder on the data disk. Mount that disk at/mnt/tvand it appears at/mnt/tv/etc/admin-password.- Work on a copy or a snapshot, never the live disk.
- Anyone who can do this already holds the appliance's secrets — which is why the banner prints the password rather than pointing at a file.
Initial setup checklist
Open http://<ip>/admin (or port 5120 directly) and sign in as
admin with the password from the banner. The console then walks you
through seven steps, in the order they work in. The same seven rows
live permanently on its Get started page, so you can leave and come
back.
What you should be looking at
The console is a separate sign-in from the application, on the same machine. It is the one place that wants the generated password from the console banner:
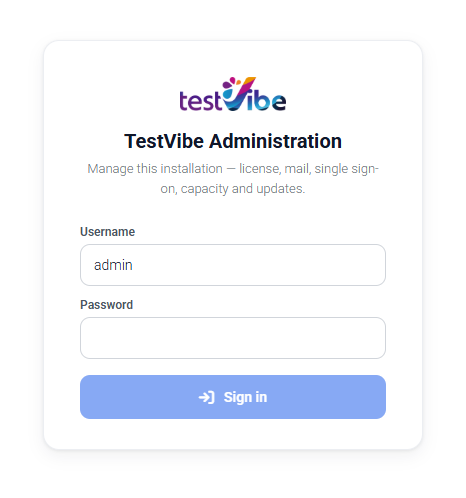
The username is pre-filled with admin. The password is the one on the
console banner — unique to your appliance, and we cannot look it up for you.
The seven steps
Each step carries a status pill and names anything still missing. You can skip License, Email, Sign-in and AI providers and come back later. You cannot skip Database or First user.
- Database. Where the install keeps everything. It is first
because every later step is stored in it. The appliance, the Compose bundle and
the Helm chart all wire it for you.
- You should see it already marked done, naming the host and database.
- License. Copy the install ID from the panel, paste it
into the portal's License tab, and paste the license text
you get back into the box on the same panel.
- Until then the install runs in a 14-day grace window. A restart cannot extend it. When it lapses, new runs, generations and load tests stop; existing data stays readable.
- The license takes effect on the next licensing pass, or immediately if you restart.
- Re-issuing a license for an install you already activated is free and does not consume another deployment. Rebuild the box as often as you like.
- You should see the step turn to "Valid".
- In detail: License →
- Addresses. Two fields you cannot skip:
TESTVIBE_PUBLIC_BASE_URL("Application URL") andTV_BLOBSERVER_PUBLIC_URL("Artifact URL"). Sign-in callbacks, emailed links and every trace link are built from them.- On the appliance both arrive filled in from the address DHCP handed out on
the first boot —
http://<ip>:8080andhttp://<ip>:8090— and they stay editable here. Change them whenever the address moves. - On Compose and Kubernetes they are pinned in your file, so the console shows them locked. Edit the file instead.
- Neither may be
localhost,127.0.0.1or an internal container name. A browser has to be able to open them. - You should see "Application URL saved — restart the instance for it to take effect." These two are the only settings that need a restart; see the note below.
- On the appliance both arrive filled in from the address DHCP handed out on
the first boot —
- Email (skippable). Your own relay — Exchange, Microsoft 365,
Google Workspace, Postfix, SES. Email invitations, password resets and run
notifications go through it.
- Required: SMTP relay host and From address. Port defaults to 587 (STARTTLS); 25 works for an internal relay. Port 465 is not supported.
- Leave Username and Password blank if the relay authorises this host by IP. Microsoft 365 and Google Workspace need an app password or a service account.
- You should see the test message arrive after you press Send test.
- In detail: Integrations →
- Sign-in (skippable). Email and password always works. Add your
identity provider over OpenID Connect — Entra ID, Okta, Keycloak, Auth0 and Ping
are all standard OIDC.
- Register TestVibe as a confidential web application. The console prints the exact redirect URI to paste.
- Give it the issuer URL, not the authorize URL. SAML is not supported.
- You should see a "Continue with …" button on the application's sign-in card.
- In detail: Identity & sign-in →
- AI providers (skippable). These write and heal tests. Connect
the companies you hold keys for, or your own endpoint that speaks the OpenAI API
— including a model inside your own network, so prompts and page content never
leave it.
- The model must support tool calling, or generation stalls.
- Then switch on the individual models your team may pick, on the AI models page. A connected provider with no model switched on generates nothing.
- You should see "1 model from 1 provider" or similar — not "Connected, but no model is switched on for your users to pick."
- In detail: AI providers →
- First user. The person who can sign in to the application. That is section 04.
docker compose restart web admin. On Kubernetes:
kubectl -n testvibe rollout restart deploy/testvibe-web deploy/testvibe-admin.
Capacity is not one of the seven steps
It is its own console page and the defaults are fine to start with. It holds four caps: concurrent test runs, concurrent AI generations, load-test machines, and concurrent assistant sessions. Work over a cap queues rather than failing, so a cap set too low shows up as waiting.
- Caps throttle; they do not create capacity. Raising one above what the hardware can drive only moves the queue.
- Each concurrent generation drives a real browser. On a 4 vCPU box, keep generations low.
- A standard licence caps concurrent test runs at 2 whatever you type.
- In detail: Capacity →
Creating the first application user
A fresh install has zero application accounts. The administration password is not one of them — it opens the console and nothing else. You make the first account in the console's First user panel. It takes about a minute, and it needs no email.
Two sign-ins, two different credentials
This is the single most common misunderstanding about a new install. They are separate systems on the same box, and neither credential works on the other's page.
| Administration console | The application | |
|---|---|---|
| Where | http://<ip>/admin(port 5120) |
http://<ip>/(port 8080) |
| Credential | admin plus the password from the console banner
(TV_ADMIN_PASSWORD on Compose,
secrets.adminPassword on Kubernetes) |
An email address and password that somebody registered |
| Where it lives | In this install's environment. Never in the database — it is not a user account and it has no row anywhere. | In the database, as a normal user of the product. |
| What it can do | License, addresses, mail, single sign-on, AI providers, capacity, updates, backup — and create the very first application user. | Projects, test features, generations, runs — the product. |
| Can it create an app user? | Yes — the First user panel, and only while the install has none. | Not by default — the sign-up form is only
shown to someone holding an invitation link, or when
TV_SIGNUP_MODE=open. |
Make the first user — four steps
- Check the bootstrap token is set. One shared secret lets the
console ask the application to create a user. Without it the application exposes
no such endpoint, and the panel says what to set.
- Appliance: nothing to do. The first boot generates it and wires both services.
- Docker Compose: set
TV_BOOTSTRAP_TOKENin.envbefore your firstdocker compose up -d. Generate it withopenssl rand -base64 32. - Kubernetes:
--set secrets.bootstrapToken="$(openssl rand -base64 32)". - Missed it? Add it and restart. Nothing is lost.
- Open the console and go to First user —
http://<ip>/admin. It is also step 7 of the guided setup.- You should see a card headed "Create the first user" with three boxes: Email address, Name (optional) and Password.
- If it says the bootstrap token is not configured, go back to step 1.
- Fill it in and press Create user. The
password must be at least 8 characters, including a letter and a
number (128 maximum). Anyone on your network can reach this sign-in, so
pick a real one.
- You should see a green message: "Created you@yourcompany.com. They can sign in now — no email verification needed."
- The card then says the bootstrap is closed. It works once only: the application refuses it on any install that already has a user, so a leaked token buys nothing afterwards.
- Open the application and sign in at
http://<ip>/with the email and password you just typed.- You should see an empty dashboard with an Add your app dialog already open. That is your workspace, and you own it.
Adding everyone else
In the application: Settings → Members → Invite a member. Send the invitation, then press Copy link on the pending invitation and hand the link over however you like. No mail relay needed. Someone who signs up through that link with exactly the invited address is signed straight in.
Who may sign up is one setting on the same page, TV_SIGNUP_MODE:
| Value | What it means |
|---|---|
invite |
The default on a self-hosted install. Only someone holding an invitation link can sign up. |
open |
Anybody who can open the sign-in page can create their own login. Rarely what you want on an internal address. |
closed |
Nobody self-registers. You invite every single person. |
A typo in this value is read as invite, never as open.
Changing it never affects anyone who already has an account.
Only if you set TV_SIGNUP_MODE=open
Then the sign-in card grows a Create an account link. This route needs a working mail relay:
- Registering does not sign you in. You get a panel headed "Check your email." and the account is parked until the emailed link is clicked. That link lasts 24 hours.
- With no relay configured the link is only printed to the web service's log — and on the appliance there is no OS login to read it with.
- Single sign-on is no way round it: a brand-new GitHub, Google or OIDC account is asked to confirm its address too.
- Already stuck this way? Nothing is lost — Troubleshooting → "I signed up but I cannot sign in" has the fix.
Then prove the install works
- Create a project pointing at a web application the install can
reach, generate one feature, and run it.
- You should see the run finish with a result.
- Open the run's trace.
- You should see the trace viewer load. That proves the Artifact URL is reachable from your desktop — the one setting nothing else exercises.
- Invite a colleague and watch them get in.