TestVibe organizes everything around a workspace: it is the container that holds your projects, and it decides who can see and change them. This guide covers the two kinds of workspace, how to invite teammates, what the four roles actually control, and a few patterns for keeping a growing set of projects tidy.
Personal vs. team workspaces
Every user gets a personal workspace automatically at sign-up. It is yours: your own projects live there, and it never gains additional members. It is the right home for a spike, a personal side app, or evaluating TestVibe before you bring a team in.
A team workspace is shared. Members join by invite, by an invite link, or by an approved access request. Roles are per workspace, so the same person can be an Owner in one workspace and a Member in another.
The distinction that trips people up: projects belong to the workspace that created them. If a teammate can't find a project, the first thing to check is the workspace switcher in the header — it shows the projects for one workspace at a time. Switching workspaces selects that workspace’s projects and your role within it.
To create a team workspace, choose New workspace from the workspace switcher. Enter a workspace name, its first project name and app URL, then review Include starter tests. To start without a project, use Create workspace only. Choose a plan later from Settings → Billing.
Inviting members
Membership is managed entirely inside TestVibe, from Settings → Members. It does not depend on GitHub teams or repository permissions, and Domain auto-join is disabled by default, but a workspace can explicitly enable it for approved domains. When configured, users with a verified matching address can join without an individual invitation.
To invite someone:
- Open Settings → Members in the workspace.
- Enter the teammate's email address and choose a role. Only an Owner can invite another Owner.
- Send the invite.
The invited teammate gets a purpose-built entry point. The moment they open TestVibe or the invite link, they see a "You've been invited to <workspace>" screen that names who invited them — not a generic sign-in or a "create your first project" prompt. If they're making a new account, signing up with the exact invited email skips the usual email-verification step. Once they accept, the workspace shows up in their switcher.
You can also copy an invite link from the same panel and share it directly. An eligible signed-in user can accept a valid invite link under its configured role and expiry policy — convenient, but treat the link like a shared secret, since it hands out that role to whoever holds it.
Finally, there are access requests. When someone opens a link to a project outside their own workspaces, TestVibe shows an access-request dialog instead of the project. An Owner or Admin of that workspace can approve the request to add them.
What the roles control
TestVibe has four roles. They form a straightforward ladder from read-only to full control.
| Role | What it allows |
|---|---|
| Owner | Full control of the workspace: members, roles, ownership transfer, billing, and deleting the workspace. |
| Admin | Invite and remove members, approve access requests, manage projects and settings. |
| Member | Day-to-day testing work in the workspace's projects — edit, run, and generate. |
| Viewer | Read-only: can view projects, tests, and results, but cannot spend credits or change settings. |
Two things are worth internalizing. First, only an Owner can invite another Owner and manage billing — that keeps financial control narrow. Second, Viewer is genuinely read-only: a Viewer can't kick off a run or a generation because both spend credits. That makes Viewer the safe role for a stakeholder who wants visibility into test health without any risk of touching the bill.
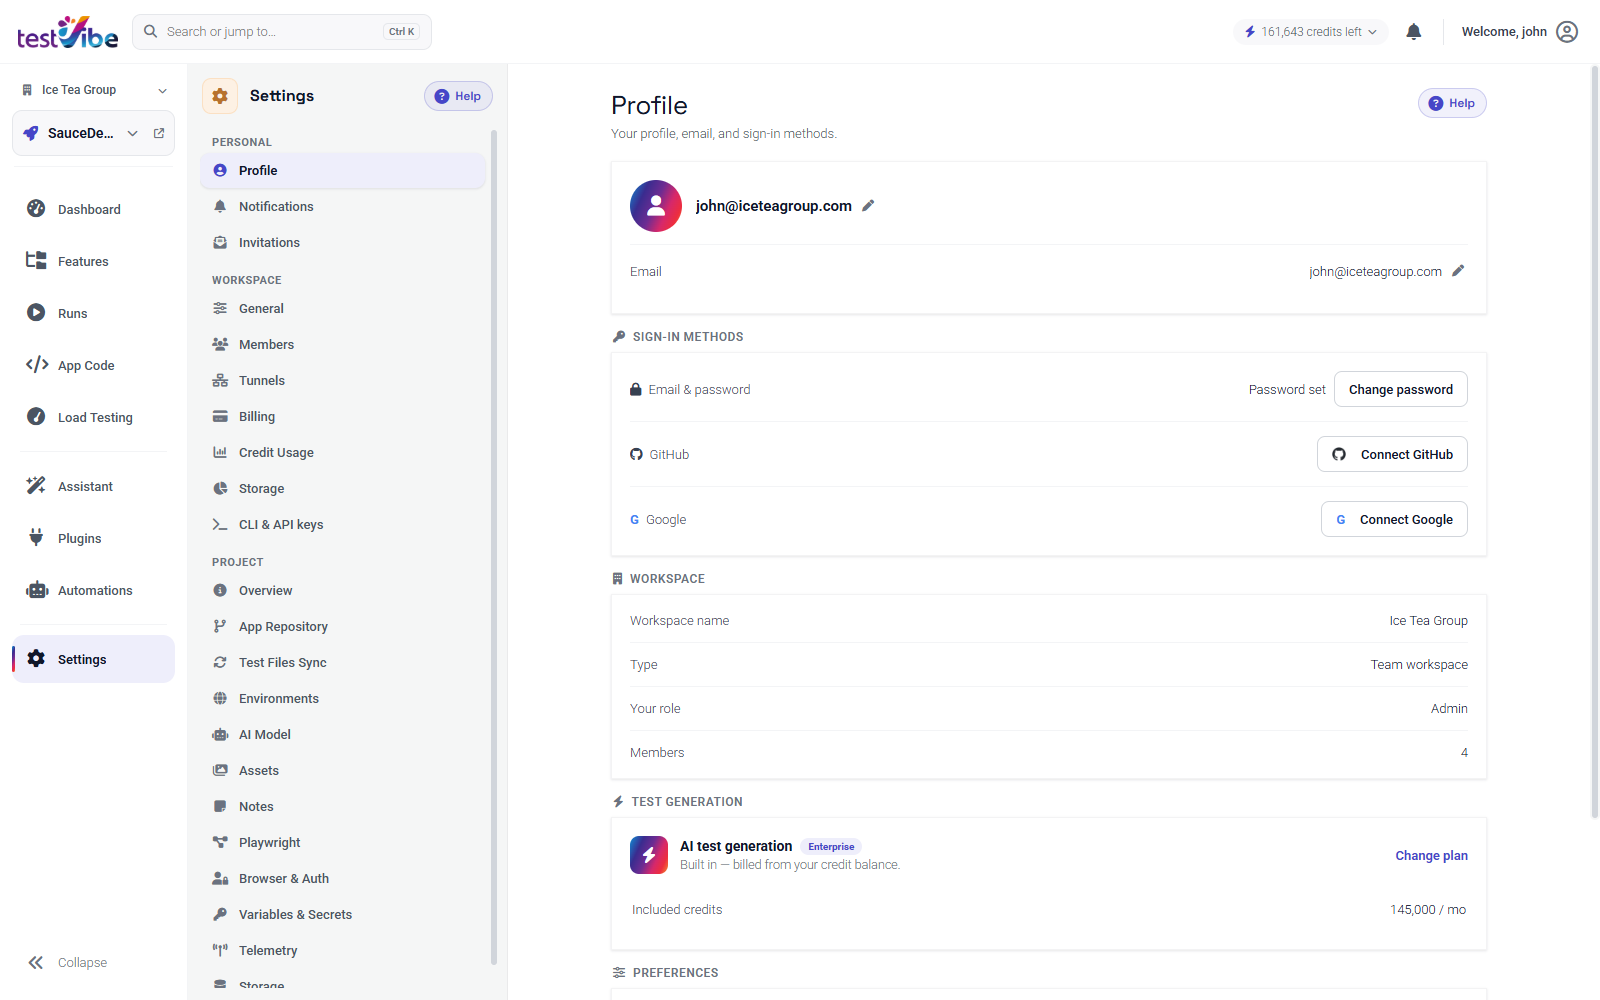
You can confirm the active workspace, its type, your role, and the member count at a glance from Settings → Profile.
If a permission change doesn't seem to take effect, refresh TestVibe or sign in again so the workspace reloads current permissions.
How teams organize projects
A project in TestVibe maps to one web app — a name plus the site URL(s) to test. There's no single right way to slice them, but a couple of patterns hold up well.
One project per app or major area. Name projects after what they cover — customer-portal, billing-checkout — so the purpose is obvious in the switcher and the project list. Avoid throwaway names unless you truly mean to replace the project.
One workspace per team or product line, not per environment. Environments (staging, production, a preview URL) belong inside a project, added in Settings → Environments — not as separate workspaces. Reserve separate workspaces for genuinely separate teams, billing boundaries, or products, since each workspace is its own membership and plan.
Match roles to how people actually work. Engineers who write and run tests are Members. A tech lead or QA lead who also manages people and settings is an Admin. Product managers and stakeholders who just want to watch results are Viewers. Keep the Owner set small.
When a project already exists, teammates join by accepting a Members invite or by requesting access from a shared project link — no repository access required either way.
Workspaces and roles are the boundary that lets a team share AI-generated Playwright tests with workspace-scoped membership and shared execution/billing limits. Set them up once and the rest of TestVibe just follows the active workspace. See the Members & roles docs for the full reference, or get early access to try it with your team.