Describing a test in words is fast when the flow is short, but slow when it is a twelve-step checkout with fields whose labels you half-remember. For those, it is quicker to do the thing once and let the browser watch: the TestVibe recorder extension turns your captured clicks into a reviewable feature and a runnable test.
This guide covers how the recorder works, when to reach for it instead of writing steps by hand, and how to keep the output honest.
When recording beats describing
Both paths lead to the same place — a Gherkin feature that TestVibe generates Playwright code from. The question is only which is less work to author.
Recording earns its place when:
- The flow has many clicks or fields. Recording captures the journey while you perform it, instead of asking you to reconstruct each step from memory.
- The UI labels are hard to remember. Walking the real screens produces more concrete steps than guessing at button text.
- You are documenting an existing workflow. You can walk through the product and review the output as a record of how it actually behaves.
- You want a first draft. The generated Gherkin is editable before you save it, so it is a fine starting point even if it needs cleanup.
Writing steps by hand still wins for a short, well-understood scenario — a single sign-in, one form submit. For those, one clean Given / When / Then is clearer than a captured trace. The recorder is for the flows where doing it beats describing it.
Capturing a journey
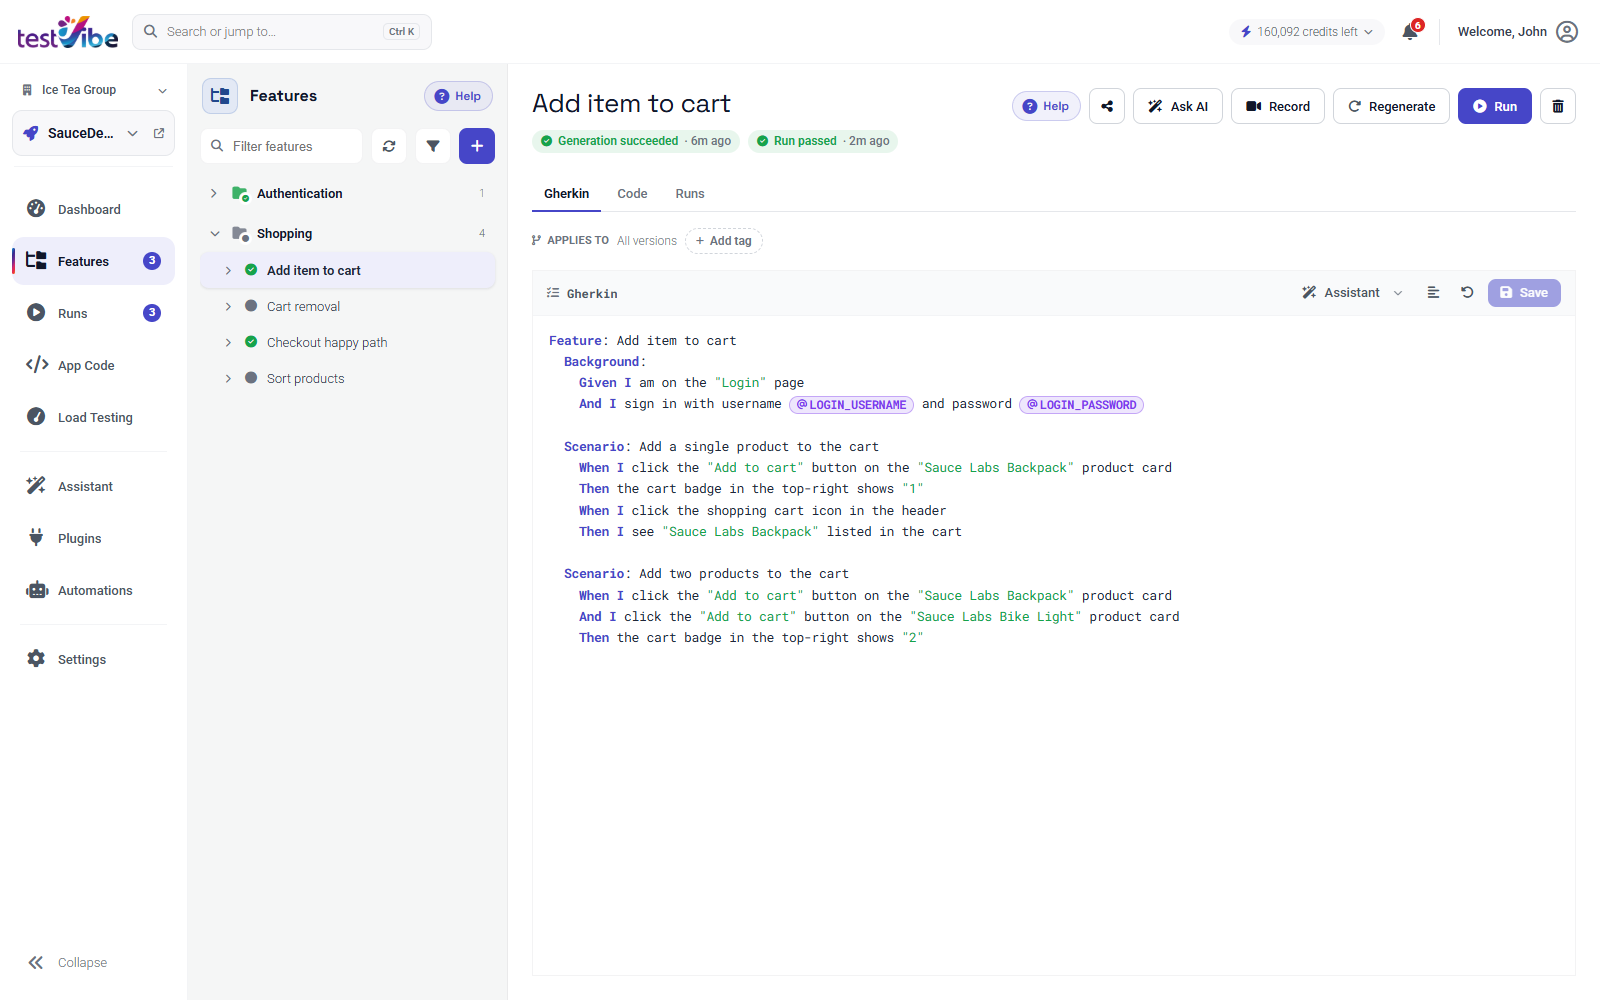
The recorder launches from the feature editor, so start in the Test Suite:
- Open the Test Suite and select or create the feature you want to author.
- Open the feature editor and choose Record.
- Install the TestVibe Recorder extension if prompted — the drawer links to the store when it is missing.
- In the recorder window, pick which environment to record against (if the project has more than one configured), then click Begin recording.
- Interact with the target site the way a user would — click, type, navigate. Each action streams live into the drawer's timeline back in TestVibe.
- Choose Review recording, then review the draft. The current drawer offers Gherkin or Markdown format.
The timeline updates as events arrive, so you can watch the journey build while you perform it. Full-page and cross-origin navigation during recording is captured rather than lost: the navigation itself becomes a step, and recording keeps going after the page changes. A flow that leaves the starting origin — say, an OAuth hop or a redirect to a payment page — needs review for complete capture and assertions; extension permissions and supported pages can limit recording.
If a recording finishes with only scrolling and navigating and no clicks or typed input, TestVibe says so plainly and offers Discard or Record again. It does not dress up an empty capture as something worth saving.
Reviewing before you save
Recorder output is a draft, not a verdict. Before saving, read the Gherkin and check a few things:
| Review | What to look for |
|---|---|
| Feature name | It should describe the user journey, not the recording session. |
| Scenario focus | One behavior, not every action you tried while poking around. |
| Step wording | Readable, user-facing language. |
| Assertions | Clear Then outcomes that prove the behavior worked. |
| Sensitive data | No passwords, tokens, or private values left in plain text. |
Edit the preview in place when the wording needs cleanup. A recording tends to over-capture — it faithfully records the two exploratory clicks you did not mean to keep — so trimming to the one behavior you care about is the main editing job.
A recorded scenario reads like any other TestVibe feature. Tighten the assertions and it looks like something you would have written by hand:
Feature: Checkout

  Scenario: Customer completes checkout with a saved address
    Given the user is on the cart page with one item
    When the user clicks "Checkout"
    And the user selects the saved address "Home"
    And the user clicks "Place order"
    Then an "Order confirmed" message should appear
    And the order number should be visible
The recorder gives you the skeleton — the clicks, the field entries, the navigation. You supply the outcome that makes it a test rather than a script: the visible result a Then step should verify.
Save explicitly, then inspect validation
The current review drawer uses Save test. Review the chosen Gherkin or Markdown instructions and captured steps before saving. Replacing an existing test may require confirmation. The save path persists the recording and requests background validation/generation; credits, queue limits or errors can block that work even if content was saved. Edited instructions may require code generation. Inspect the feature’s final status and verification evidence.
Closing through X, the backdrop or Escape does not silently save an unsaved review draft. It prompts to discard when recorded steps remain unsaved. Choose Save test deliberately if you want to keep the work.
A few habits that pay off
- Start from a stable page so the recording has a clean entrypoint.
- Use a test account, never a personal one — recorded values can end up in the feature.
- Pause and plan the journey before you start clicking; avoid exploratory clicks that do not belong in the final test.
- Add or sharpen the final assertions after recording. The recorder captures what you did, not what should be true afterward.
- Remove any accidental sensitive text before saving.
Once the feature is saved, the rest of the flow is the same as any other TestVibe test: generate Playwright code, run it, and use the results to refine the feature. If a single recording tries to do too much, split it into smaller scenarios and record — or write — each one on its own.
Recording is one of four ways into a TestVibe feature, alongside writing Gherkin by hand, importing existing tests, and accepting AI suggestions. Reach for it when doing the flow is faster than describing it. Get early access to try it against your own app, or read the recorder docs for the full workflow.